






SleekPixel for developer tool cards
Tool spotlight posts cover IDE features, CLI utilities, productivity apps, and editor plugins. SleekPixel reads the tool name, category, pricing tier, and platform from your WordPress meta and renders a Twitter card so every spotlight reads as part of the same coherent series across the year.
♾️ Lifetime License available
Tool spotlights that ship in a recognizable visual brand
Developer tool posts have a recognizable shape. There is a tool name, a category like IDE plugin or CLI utility, a pricing tier (free, freemium, paid), a platform like macOS or web, and a screenshot or logo. Most blogs publish these as one-off reviews with custom design per post, which means the series never builds visual brand recognition even when the writing is consistent.
SleekPixel handles the spotlight as a templated series. Map tool_name, tool_category, pricing_tier, platforms, and tool_logo to the layout. Each spotlight is a WordPress post with those fields filled in. The mark area carries the category abbreviation, the meta line carries the platforms and tier, and the preview area carries the tool logo or a screenshot from the meta field.
The Twitter 1200 by 675 size is the default because tool spotlights live on developer Twitter where engineering audiences scroll through new tools they might try. The same template emits a 1200 by 630 OG image for the blog and a 1200 by 1200 LinkedIn card for engineering-recruiting reposts. Three sizes, one render, one post per spotlight.
Workflow
How SleekPixel handles tool spotlights
Map the tool fields
tool_name, tool_category, pricing_tier, platforms, and tool_logo. The platforms can be a repeating meta field for multi-platform tools, and the logo can be stored in the media library or fetched from the tool's site.
Draft the spotlight post
Publish and render
Share to developer feeds
Output
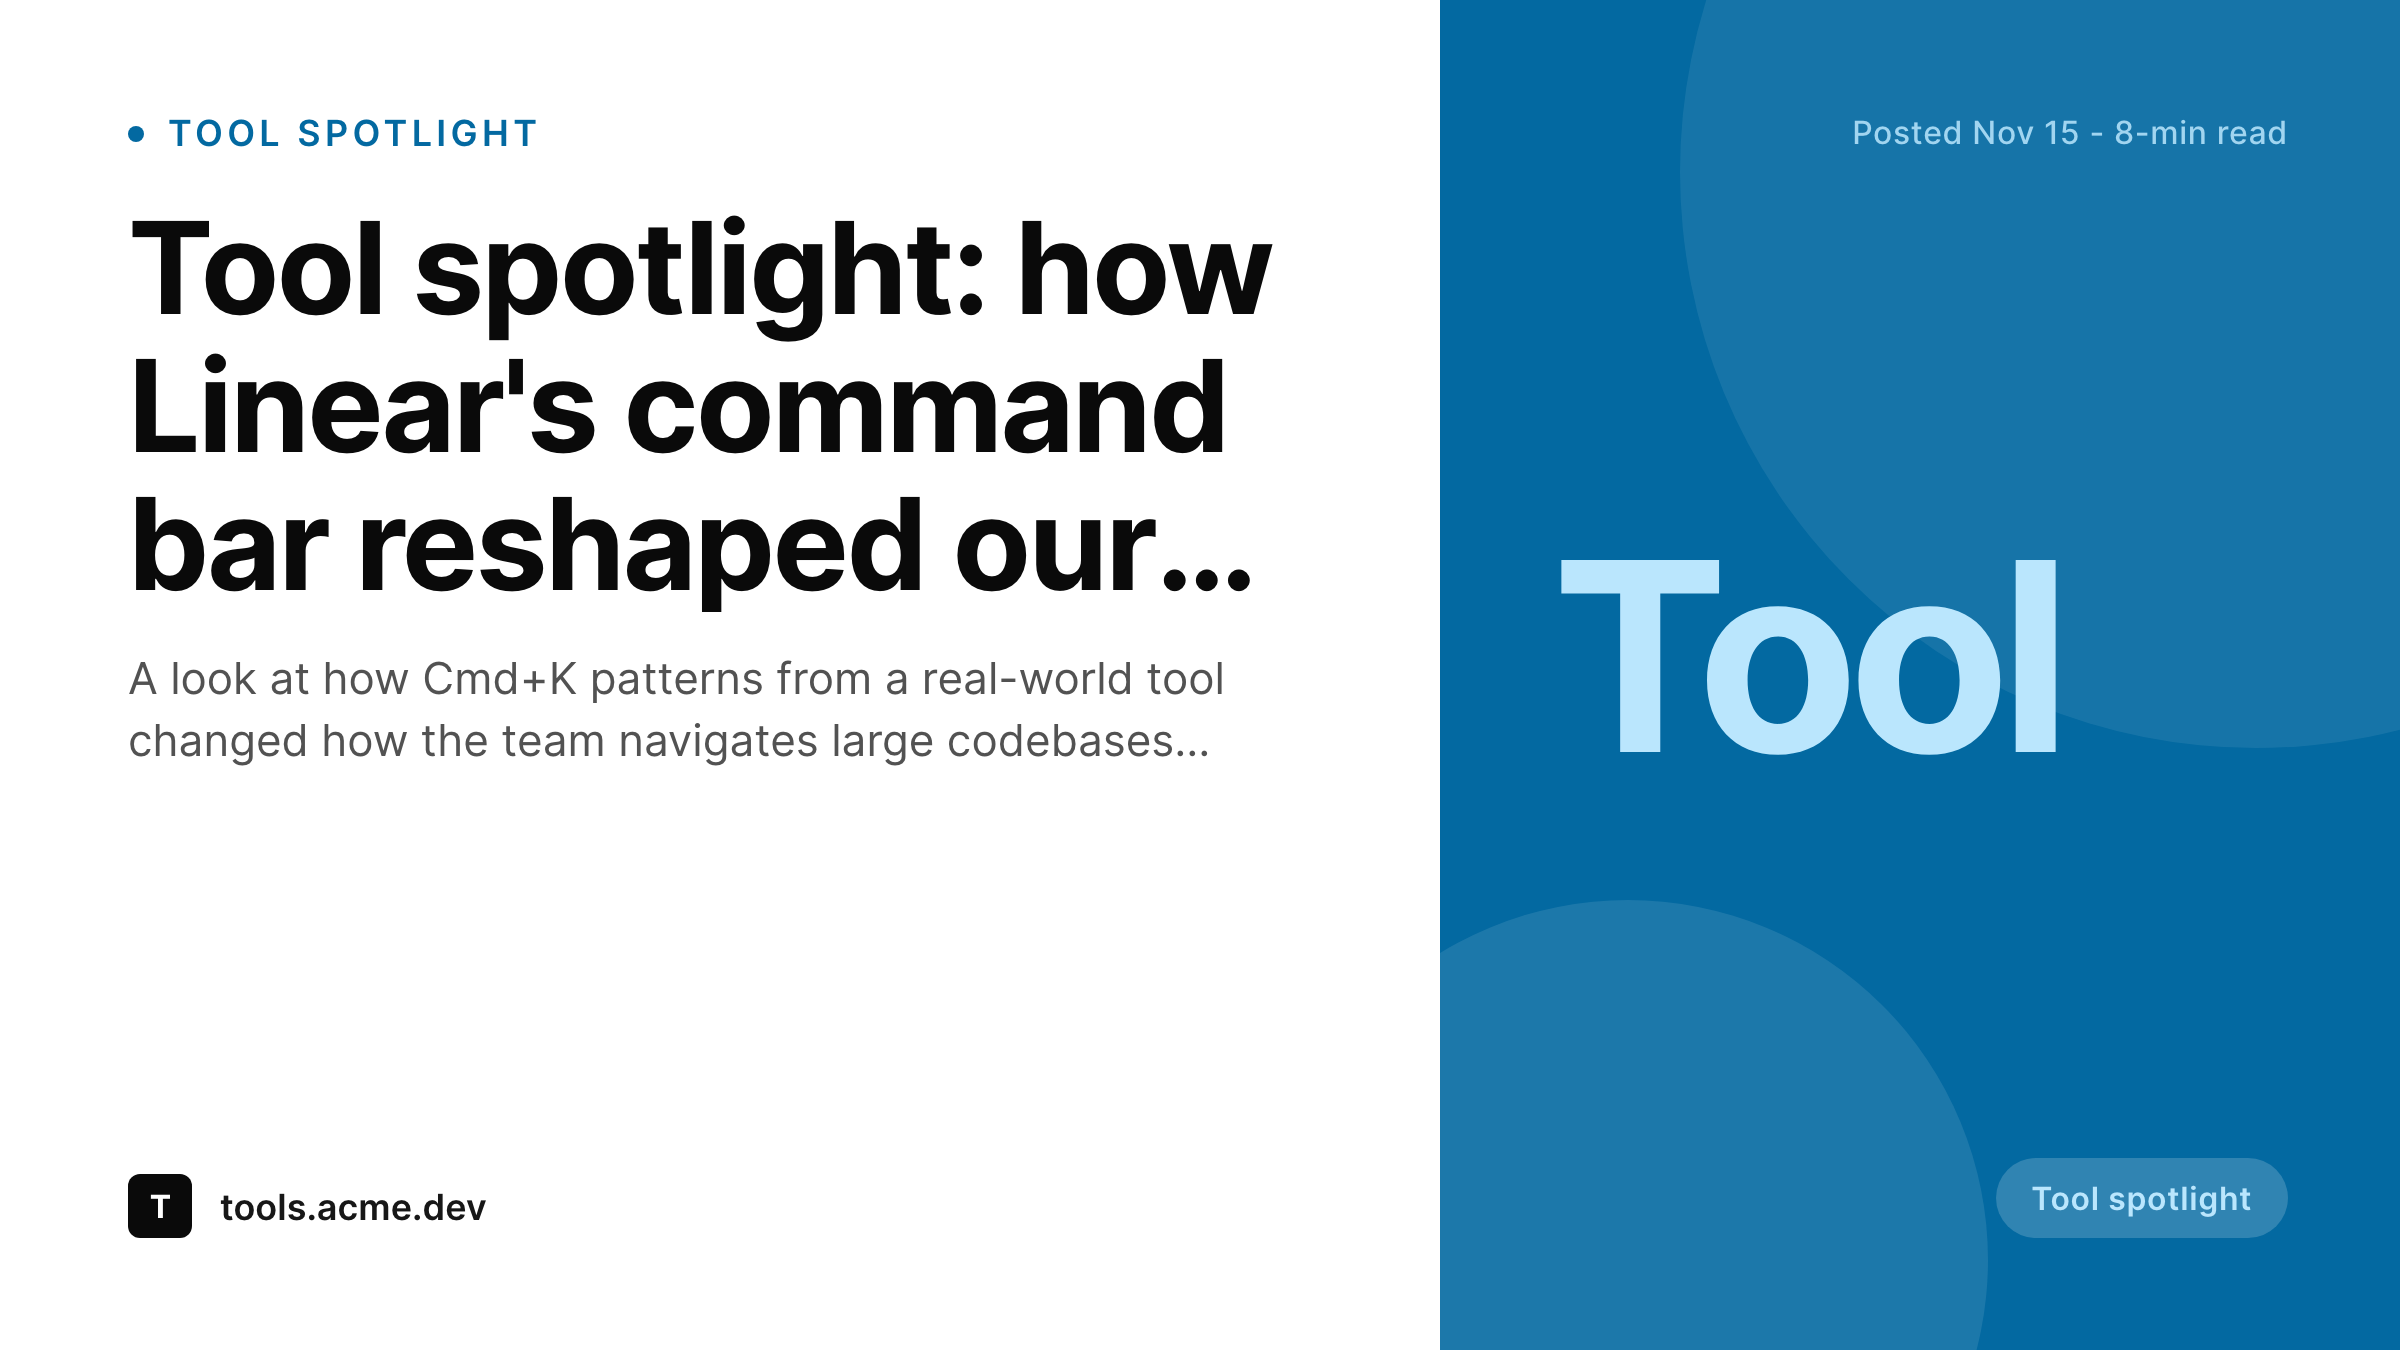
Sample developer tool spotlight card
A Twitter card spotlighting a developer productivity tool. The tool name takes the title slot, category sits on the mark, and the platforms and pricing tier render on the meta line.
Comparison
Default theme OG image vs SleekPixel for developer tool spotlight
Default theme OG image
- Default themes show a featured image with no tool name or category overlay on the card
- Pricing tier and platforms live in body text instead of rendered as visible context
- Tool logo is pasted manually each time and ends up at different sizes per post
- Each spotlight reads as a one-off review because there is no series-level brand on the card
- Tool category is buried in body copy so the series lacks visual taxonomy across posts
SleekPixel
-
Reads
tool_name,tool_category,pricing_tier, andplatformsfrom meta - Slots the tool logo onto the preview area at a consistent size across every spotlight
- Renders Twitter 1200x675, OG 1200x630, and LinkedIn 1200x1200 from one template
- Updates the card automatically when tool details change on save
- Caches the PNG so feed unfurlers serve the same file across every share
Features
What SleekPixel gives you for developer tool card
Tool name on the title slot
The tool name is the headline of the spotlight, and the template reserves the title slot for it. Long names wrap to two lines, and short names use a larger font so the card stays readable whether the tool is a single-word name or a multi-word product with versioning.
Category on the mark
Tool categories like IDE, CLI, Editor, Productivity, and Database help readers filter by what they are looking for. The mark area carries a short category abbreviation so the series builds a visual taxonomy that readers can scan across the archive grid on the blog.
Tier and platforms on the meta line
Pricing tier (Free, Freemium, Paid) and platforms (macOS, Linux, Web, Windows) are decision-relevant facts. The meta line carries both so readers know upfront whether the tool fits their setup and budget before they click through to the spotlight post.
Use cases
Teams that publish developer tool spotlights from WordPress
DevRel and engineering blogs
DevRel teams publish weekly or monthly tool spotlights as part of their distribution. The template removes the design dependency so the cadence can be sustained across the year without queuing fresh designs for each tool review the team publishes.
Tool archive pages
The archive page renders as a grid of consistent cards across categories. Readers can browse by IDE plugins, CLI utilities, or editor enhancements through a tag-filtered view of the same template, with the same brand on every card across the entire archive.
Curated tool lists
Year-end best-of and monthly roundup posts pull the same cards into a grid. The visual consistency makes the roundup feel like one curated reference rather than disconnected reviews compiled into a single post from different visual eras of the blog.
The bigger picture
Why developer tool spotlights need a template
Developer tool spotlights are one of the highest-performing engineering content types because every developer is curious about what other teams use. A spotlight that surfaces a useful IDE feature or a productivity app can lift a single Twitter thread into thousands of impressions. The trouble is that most tool spotlights publish as one-off reviews with custom design per post.
The series never builds visual brand recognition because each card looks slightly different. The reader sees Tool A reviewed in January and Tool B reviewed in October and treats them as unrelated posts rather than entries in an ongoing series. SleekPixel fixes that by templating the spotlight format.
Every card carries the tool name in the title slot, the category on the mark, and the platforms and tier on the meta line. Across a year of monthly spotlights that produces 12 consistent cards, a clean archive, and a recognizable brand for the series. Readers who discover the series in October can scroll through the archive of the prior eleven months and immediately understand it as a curated reference rather than scattered reviews.
The template also makes the spotlights cheaper to produce because the design work happens once at template creation time and every subsequent post just fills in the meta. That means the editorial team can spotlight more tools per year because the marginal cost per post is writing the post itself, not designing a fresh card to go with it.
Questions
Common questions about SleekPixel for developer tool card
Yes. Store the logo in the media library or in a dedicated meta field. The template renders the logo on the preview area at a consistent size across every spotlight. For tools without a usable logo, the template falls back to a typeset version of the tool name.
Store platforms as a repeating meta field with values like macOS, Linux, Web, Windows, and iOS. The template renders the platforms as a comma-separated list on the meta line. For more than three platforms, it shows the first two and adds a +N indicator.
Yes. The template assigns colors to pricing tiers automatically: Free renders in a neutral tone, Freemium in a secondary accent, and Paid in the brand accent. You can override the colors per page group if you prefer a different visual coding for the tier system.
Yes. Use a tool_status field with values like GA, Beta, Alpha, or Open Source. The badge area renders the status so readers see at a glance whether the tool is production-ready or still in development. That context matters for evaluating tools for serious use.
Yes. Store the tool URL in a meta field and use it as a primary CTA on the post body. The OG image links to the spotlight post by default, but the post body can include a prominent link to the tool's homepage so readers can try it immediately after reading the post.
Yes. Store the GitHub URL as the primary link and use the repository's social card or the org's avatar as the tool logo. The template handles repos without a marketing site by fetching the org or repo avatar so the card still carries a visual anchor on every spotlight.
Yes. Some tools span categories like IDE + Productivity or CLI + Database. Store the category as a repeating meta and the template renders the primary category on the mark with secondary categories on the meta line, so readers see the tool's full taxonomy at a glance.
Yes. The first render after publish stores the PNG and serves it on subsequent requests. Editing the post invalidates the cache and triggers a regeneration so the file always reflects the current tool details on the post, including any version or pricing updates.
Pricing
More than 1000+
happy customers
Explore our flexible licensing options tailored to your needs. Upgrade your license anytime to access more features, or opt for a lifetime license for ongoing value, including lifetime updates and lifetime support. Our hassle-free upgrade process ensures that our platform can grow with you, starting from whichever plan you choose.
Lifetime ♾️
Most popular
EUR
once
- Unlimited websites
- Lifetime updates
- Lifetime support
...or get the Bundle Deal
and save €250 🎁
The Bundle (unlimited sites)
Pay once, own it forever
Elevate your WordPress site with our exclusive plugin bundle that includes all of our premium plugins in one package. Enjoy lifetime updates and lifetime support. Save significantly compared to buying plugins individually.
What’s included
-
SleekAI
-
SleekByte
-
SleekMotion
-
SleekPixel
-
SleekRank
-
SleekView
€749
Continue to checkoutBrowse more
- press kit card
- session recap cards
- indie hacker cards
- patch note cards
- newsletter issue card
- pitch deck card
- delivery cards
- industry report cards
- founding customer card
- contributor spotlight card
- monthly roundup cards
- glossary term cards
- chart of the week cards
- product update images
- terms update cards
- Medium article headers
- Flickr cover photo
- Snapchat Discover tiles
- Twitch overlay
- Kindle book cover
- Substack podcast cover
- Mastodon link previews
- Fanvue page banner
- Snapchat ad images
- VK community cover photos
- Behance project covers
- Instagram Shop product images
- TikTok Now image
- Lemon Squeezy product covers
- Buy Me a Coffee banners